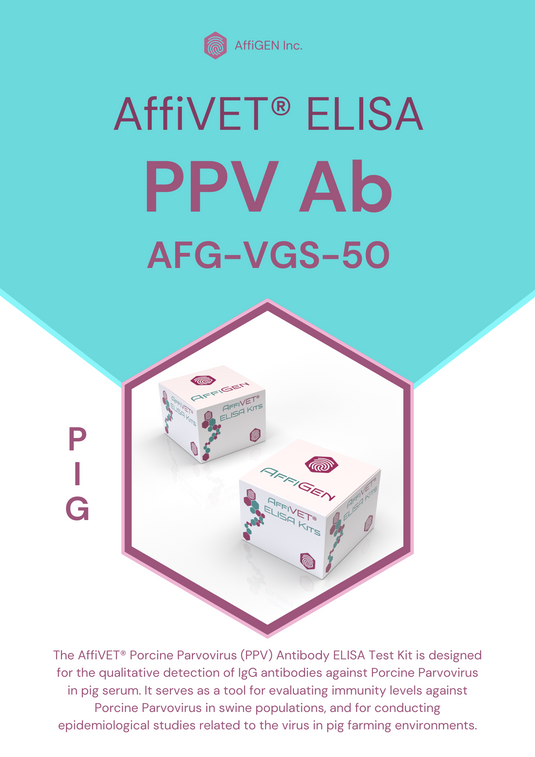


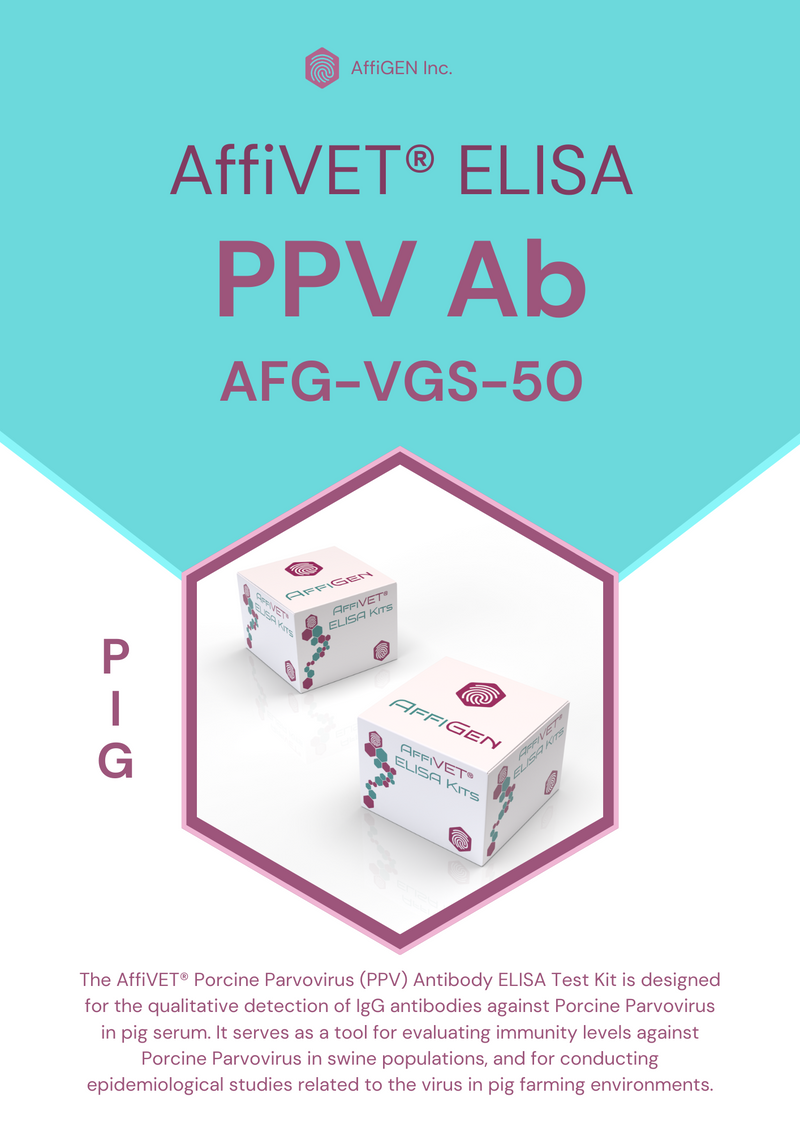

AffiVET® Porcine Parvovirus (PPV) Antibody ELISA test Kit
Test Principle :
The AffiVET® Porcine Parvovirus (PPV) Antibody ELISA Test Kit, employing the solid-phase enzyme-linked immunosorbent assay (ELISA) method, is a comprehensive and meticulously designed diagnostic tool for detecting PPV antibodies in pigs.
Principle of Operation :
- Initial Antigen-Antibody Binding: The assay begins with the PPV antigen present on the plate binding with any PPV antibodies (PPV-Ab) in the test sample (usually porcine serum).
- Formation of Antibody Complex: Post initial binding, the enzyme-labeled anti-pig IgG antibody interacts with the antigen-antibody complex, forming a "coated antigen + PPV-Ab + enzyme-labeled anti-pig IgG antibody" structure.
Catalytic Color Development :
- Substrate Addition: A specific substrate is added to the reaction.
- Color Reaction: The enzyme (horseradish peroxidase) catalyzes a reaction with the substrate, leading to color development.
- Proportional Intensity: The depth of the color produced is directly proportional to the concentration of PPV antibodies in the sample.
Kit Components :
|
1 |
PPV Antigen Coated Microplate |
2 X 96 Tests |
|
2 |
Enzyme Conjugate |
22 mL |
|
3 |
Sample Dilution |
50 mL |
|
4 |
Negative Control Serum |
1.5 mL |
|
5 |
Positive Control Serum |
1.5 mL |
|
6 |
Substrate |
12 mL X2 |
|
7 |
Stop Solution |
12 mL |
|
8 |
10X Concentrated Wash Solution |
50 mL |
|
9 |
Adhesive Foil |
2 PCE |
|
10 |
User Manual |
1 PCE |
Materials Required But Not Provided :
- Microplate Reader (double-wave length: 450/630 nm)
- Precise micropipette (single-channel 10-100 µL, 0.5-10 µL, multi-channel 30-300 µL)
- Constant temperature box or water bath box
- Oscillator.
- Disposable tips (10 µL, 200 µL)
- Deionized water
Sample Requirements
- Sample Collection and Storage :
- Sample Quality :
Test Preparation :
- Preparation of ELISA Reagents:
For optimal results, allow all ELISA reagents to reach room temperature (20-25°C) over a period of 30 minutes before use. Ensure that the microplate is at room temperature and completely dry prior to opening the package.
- Sample Dilution:
Dilute the serum sample using the provided sample diluent at a 1:40 ratio (5µl serum + 195µl sample diluent). Thoroughly mix the diluted sample to achieve uniformity and enhance test accuracy.
- Washing Solution Preparation:
Prepare the washing solution by diluting the 10× concentrated washing buffer with deionized water at a 1:10 ratio (10ml 10× concentrated washing buffer + 90ml deionized water). If crystallization is observed in the 10× concentrated washing buffer, warm it to 37°C until it is fully dissolved.
Test Procedure :
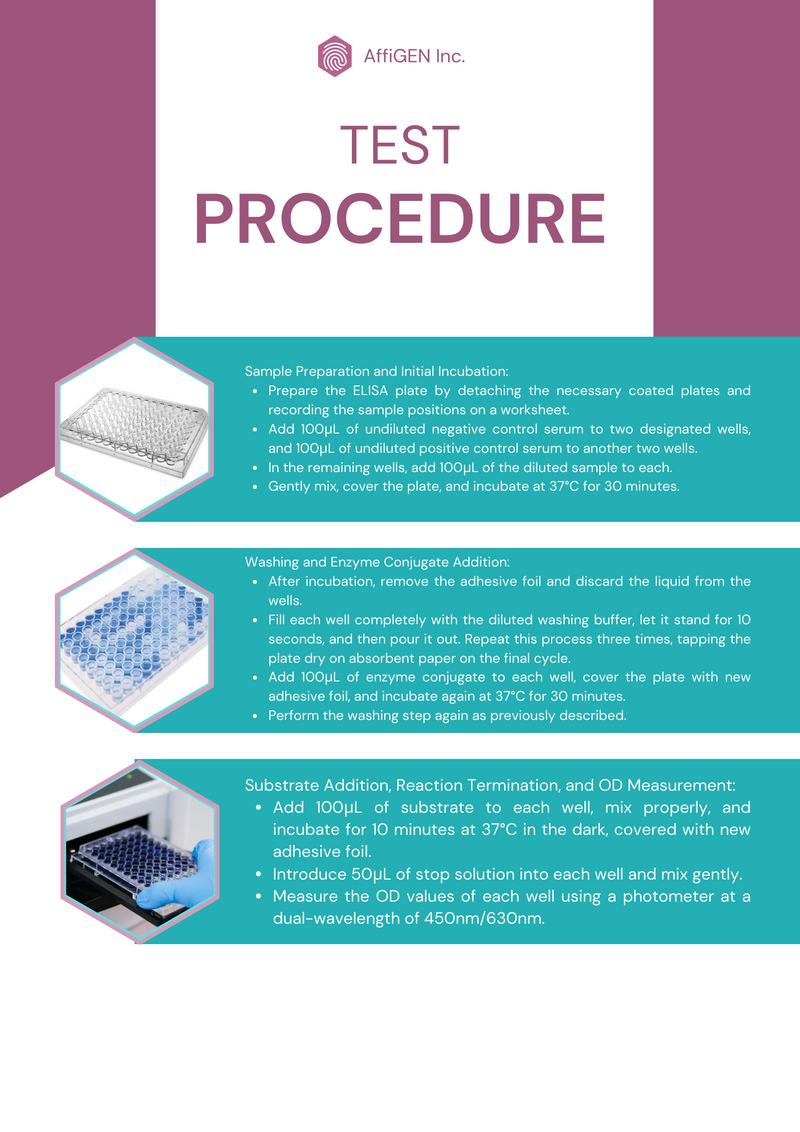
- Sample Preparation and Initial Incubation:
- Prepare the ELISA plate by detaching the necessary coated plates and recording the sample positions on a worksheet.
-
Add 100μL of undiluted negative control serum to two designated wells, and 100μL of undiluted positive control serum to another two wells.
-
In the remaining wells, add 100μL of the diluted sample to each.
-
Gently mix, cover the plate, and incubate at 37°C for 30 minutes.
- Washing and Enzyme Conjugate Addition:
- After incubation, remove the adhesive foil and discard the liquid from the wells.
-
Fill each well completely with the diluted washing buffer, let it stand for 10 seconds, and then pour it out. Repeat this process three times, tapping the plate dry on absorbent paper on the final cycle.
-
Add 100μL of enzyme conjugate to each well, cover the plate with new adhesive foil, and incubate again at 37°C for 30 minutes.
-
Perform the washing step again as previously described.
- Substrate Addition, Reaction Termination, and OD Measurement:
- Add 100μL of substrate to each well, mix properly, and incubate for 10 minutes at 37°C in the dark, covered with new adhesive foil.
-
Introduce 50μL of stop solution into each well and mix gently.
- Measure the OD values of each well using a photometer at a dual-wavelength of 450nm/630nm.
Result Interpretation :
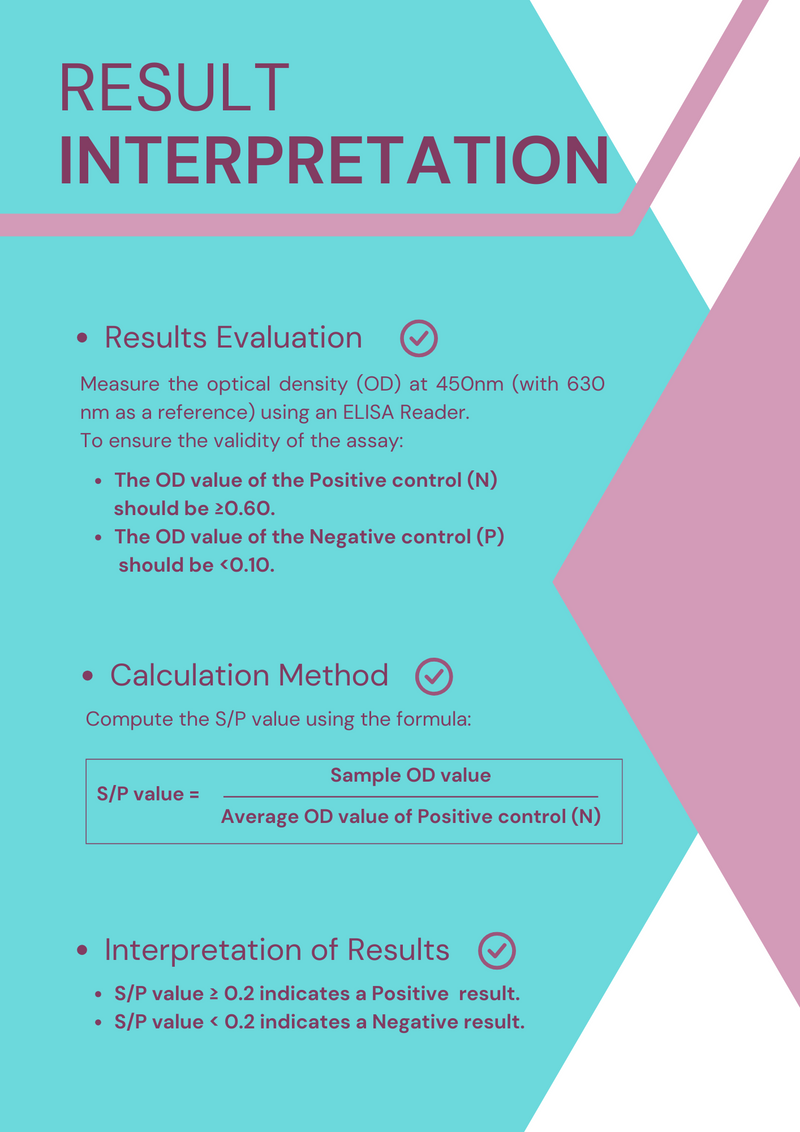
Results Evaluation:
Measure the optical density (OD) at 450nm (with 630 nm as a reference) using an ELISA Reader.
To ensure the validity of the assay:
- The OD value of the Positive control (N) should be ≥0.60.
- The OD value of the Negative control (P) should be <0.10.
Calculation Method:
Compute the S/P value using the formula:
S/P value = Sample OD value/Average OD value of Positive control (N)
Interpretation of Results:
- S/P value ≥ 0.2 indicates a Positive result.
- S/P value < 0.2 indicates a Negative result.
Precautions and warnings for users :
- Read the Manual Carefully: Prior to use, thoroughly review the provided manual for detailed instructions and guidelines.
-
Check Expiry Dates: Do not use reagents past their expiration dates, and avoid mixing reagents from different lots to maintain assay reliability.
-
Safe Disposal: Dispose of experimental waste appropriately. Sterilize waste using high-pressure steam at 121°C for 30 minutes or treat it with a 5.0g/L sodium hypochlorite disinfectant for 30 minutes before disposal.
- Microwell Plate Handling: If a Microwell plate has been stored in a refrigerated environment, allow it to equilibrate to room temperature and dry before opening. Unused Microwell plates should be returned to a dry foil bag and sealed at 4°C for storage. Liquid reagents should be capped and stored at 2-8°C in the dark, separate from other kit components.
- Use of Micropipettor: Employ a Micropipettor to accurately add samples and reagents to minimize errors. Periodically verify the accuracy of the Micropipettor.
-
Washing Buffer Handling: When adding washing buffer, ensure wells are filled adequately but without overflow. This prevents the appearance of free enzyme at the well's mouth and avoids cross-contamination between wells.
-
Safety with Stop Solution: Be cautious when handling the stop solution, as it is corrosive. In case of skin or clothing contact, promptly rinse with a large amount of water to mitigate any potential harm.
-
Once the assay is completed, it's essential to store the kit properly. Keep it stored at 2~8°C in a dark environment, ensuring it is not frozen. The kit has a shelf life of 12 months from the date of manufacture.